
Materials:
Wood (Pine, plywood, or hardwood)
Wood glue
Screws
Sandpaper (different grits)
Wood stain or paint (optional)
Protective finish (polyurethane, varnish, etc.)
Measuring tape
Pencil
Jigsaw or hand saw
Drill with drill bits
Clamps (optional)
Safety glasses
Dust mask
Work gloves
Tools:
Design: Choose a design for your desk organizer. It can be simple or intricate, with drawers, compartments, or shelves. You can find inspiration online, in woodworking books, or by sketching your own ideas.
Cut the wood: Measure and mark your wood according to your design. Cut the wood to the correct size using a jigsaw or handsaw. Remember to take safety precautions when cutting wood.
Assemble the organizer: Use wood glue and screws to connect the wood pieces. Clamp the pieces together until the glue dries for a secure bond.
Sanding: Smooth out the edges and any rough spots with sandpaper. Start with coarser grit sandpaper and gradually move to finer grit sandpaper for a polished finish.
Finish: Apply wood stain or paint to your organizer for a desired color and look. Let the finish dry completely before moving on to the next step.
Protective finish: Apply a protective finish like polyurethane or varnish to seal the wood and protect it from scratches, stains, and moisture. Let the finish dry completely.
Specific Design Examples:
Simple Organizer:
Materials: One piece of plywood or pine board
Design: Cut the board into two rectangles. One rectangle will be the base and the other will be the divider for compartments. Glue and screw the divider to the base, creating multiple compartments.
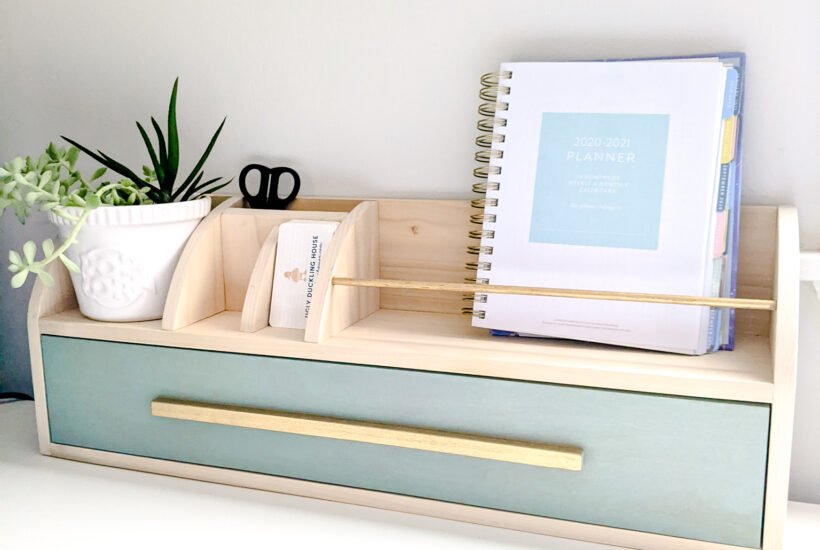
Drawer Organizer:
Materials: Several pieces of wood for the base, sides, back, and drawer fronts.
Design: Create a box shape with the base, sides, and back. Cut out drawer fronts and attach drawer slides.
Shelving Organizer:
Materials: Pieces of wood for the base, shelves, and sides.
Design: Cut the shelves and sides to the desired size. Attach the shelves to the sides using wood glue and screws. Attach the base.
Tips:
Pre-drill holes: To prevent wood from splitting when screwing, use a drill bit slightly smaller than the screw to pre-drill holes.
Use clamps: Clamps help hold the wood pieces together while the glue dries.
Safety First: Always wear safety glasses, a dust mask, and gloves when working with wood.
Be Creative: Don’t be afraid to experiment with different designs and add personal touches.
Conclusion:
Building a DIY woodworking desk organizer is a fun and rewarding project. With some basic tools and materials, you can create a custom organizer that fits your needs and style. Be sure to have fun and personalize your project to make it truly your own.

0 comments:
Post a Comment